How to: Flash Photography
January 12, 2024
Flash photography is one of many rewarding skills a photographer can have. Flash can be extremely intimidating. When I first put a flash on my camera, I was terrified. Where do you even point that thing? The number of new buttons is overwhelming, but once you get the hang of it, it is a fun and necessary addition to any photo gallery.
Becoming a skilled photographer involves being able to shoot in virtually any kind of shooting scenario with varying lighting conditions, hence the need for knowledge and experience in flash photography.
I am not here to give you a technical rundown on using your flash, but I am here to share with you what works for me.
You can use flash in any lighting situation, depending on the look you are going for in your photographs.
I use flash mainly for night photography, low-light situations (for example, inside a dark building where you need to take wedding portraits), and concert photography. Some photographers also use their flash outside during the day to get a particular light on their subject.
Flash tips to help you find your groove:
- If you’re a beginner, need to use your flash for a wedding or concert, and have never used it properly, wait to mess around with it until you’re home with your friends, family, or fur baby. You can still achieve a stunning flash photograph without messing with all the flash settings. I still keep my flash on auto occasionally and focus more on the settings on my camera instead of worrying about all the different flash settings.


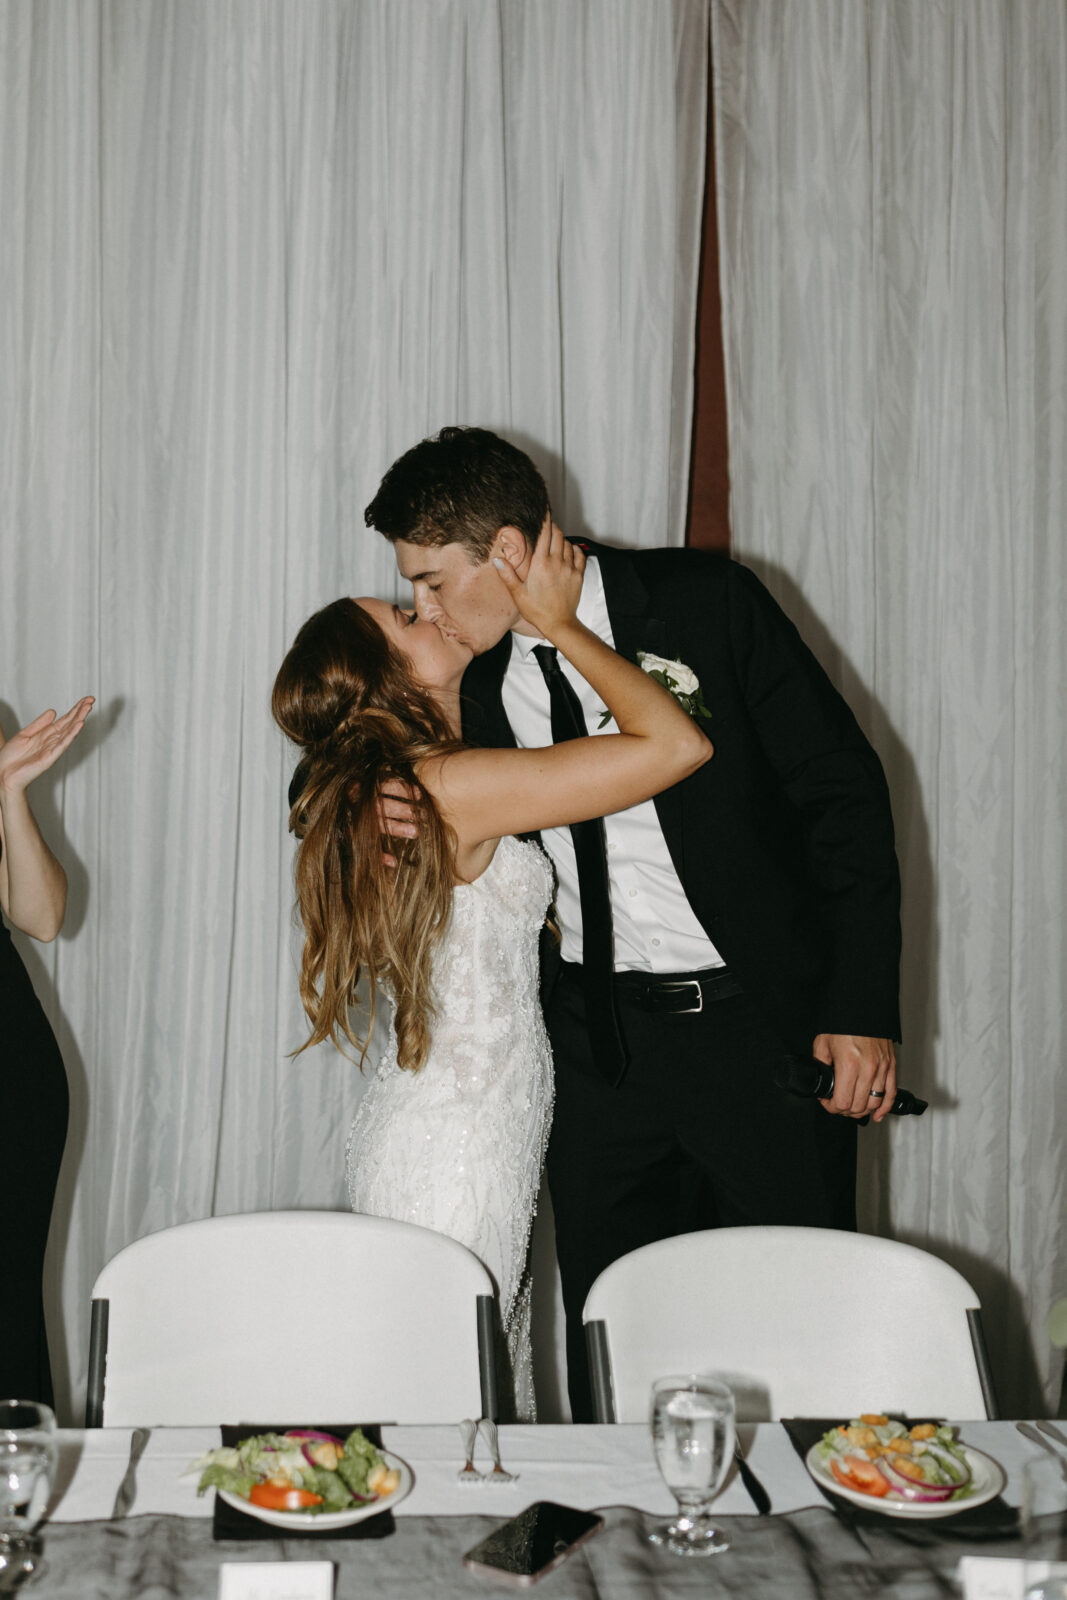
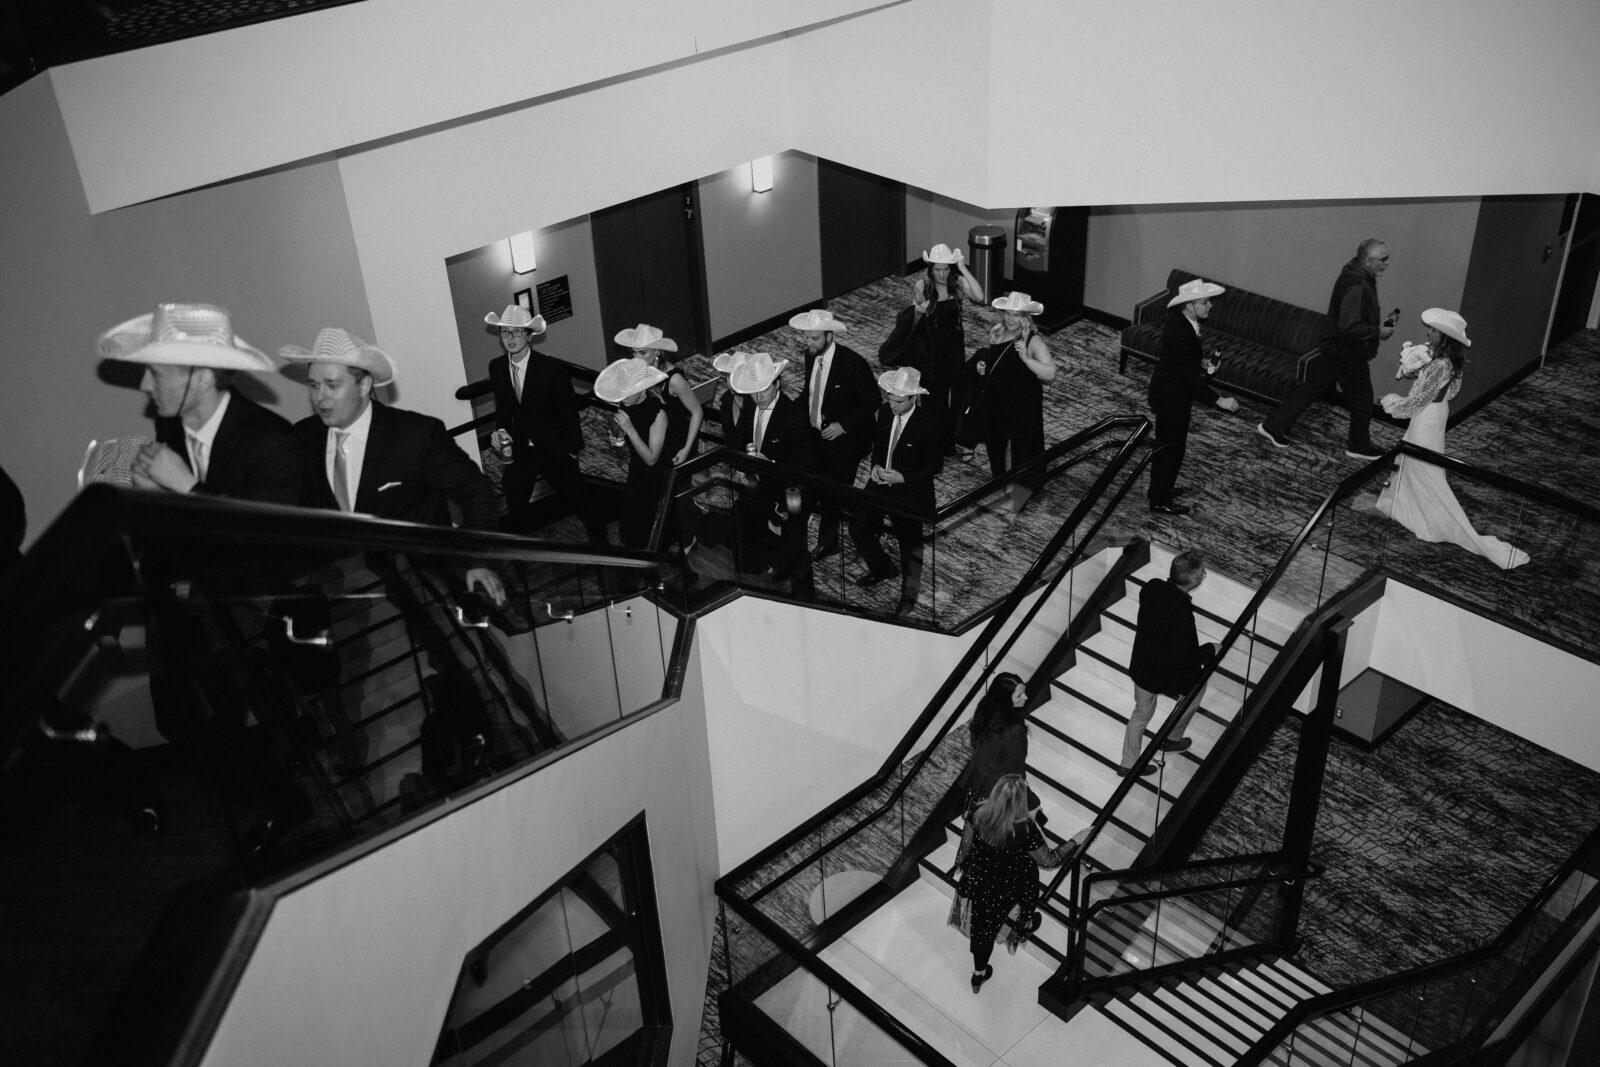
- Take a handful of test shots before using your flash, even if you’re just switching from one room to the next. It’s important to feel your surroundings out. It can easily be too bright or too dark.
- Bouncing your flash off of ceiling + walls: “Where do I point my flash?” It depends on where you want the person lit up and where you want their shadow to be. To change how shadows appear, bounce light in a different direction. Pointing the flash head towards the ceiling or a wall creates a softer light, which is especially effective indoors where ceilings and walls are present. This reduces the glare from your subject’s skin, hair, and clothing when taking photos of people. The optimal distance to bounce flash off of walls and ceilings is 3-6 feet.
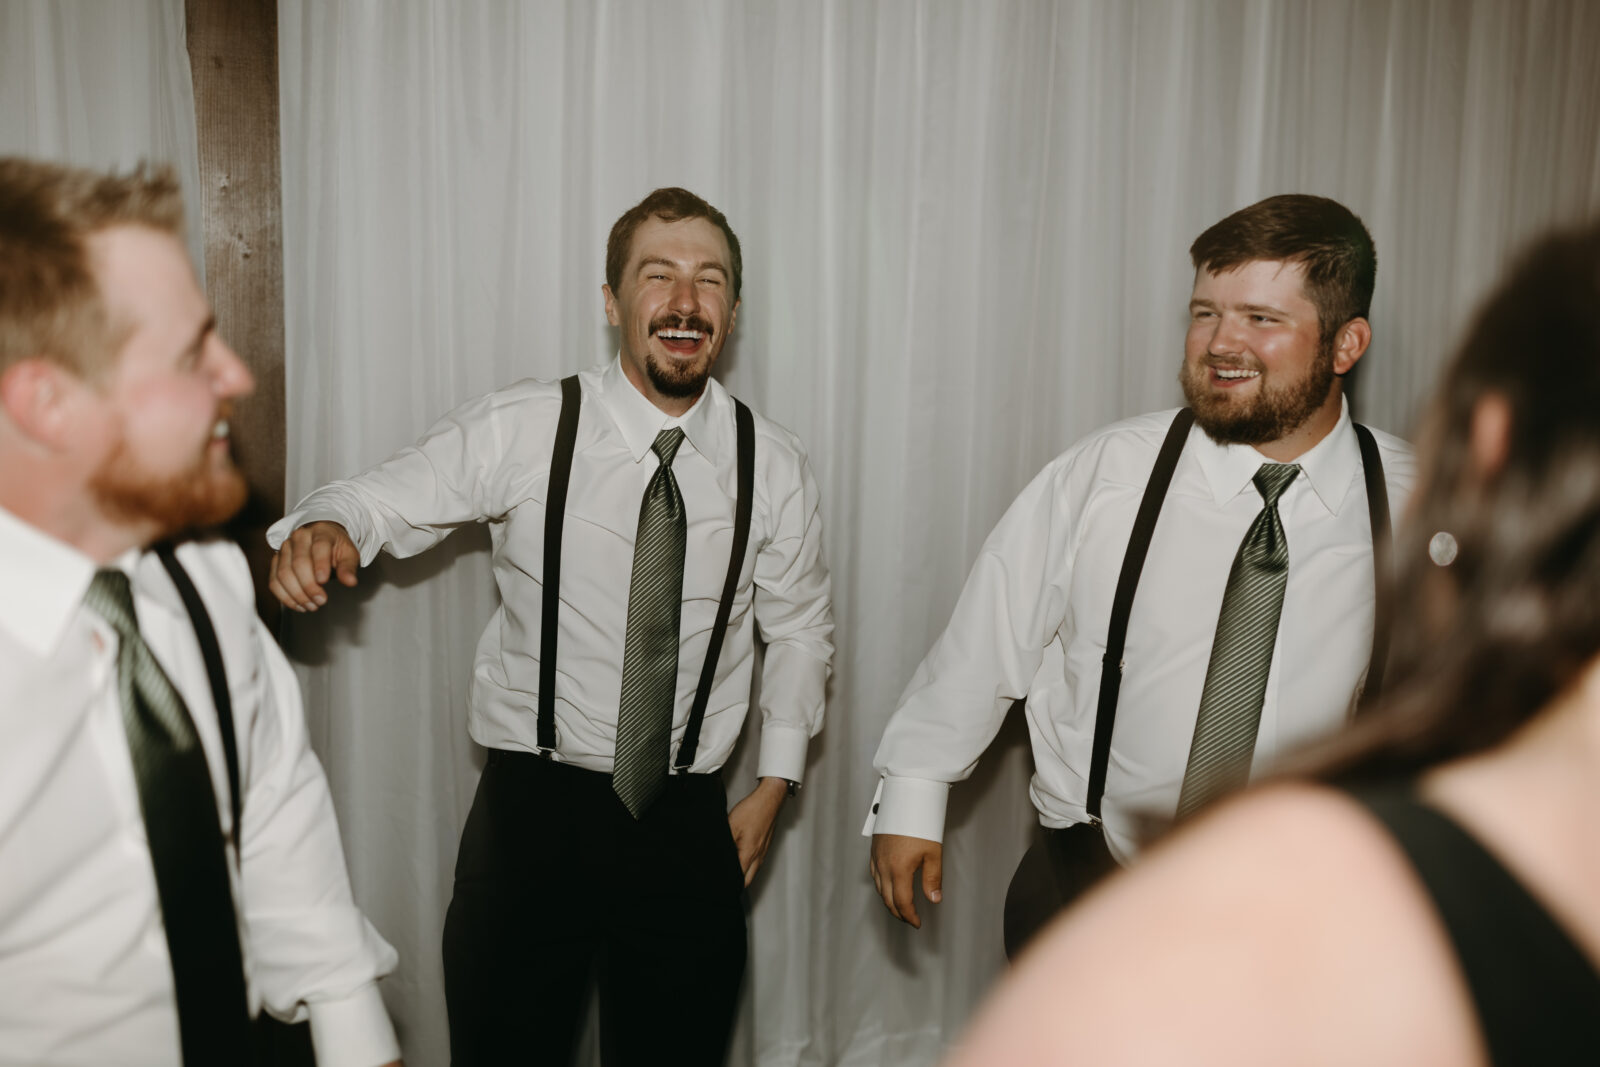
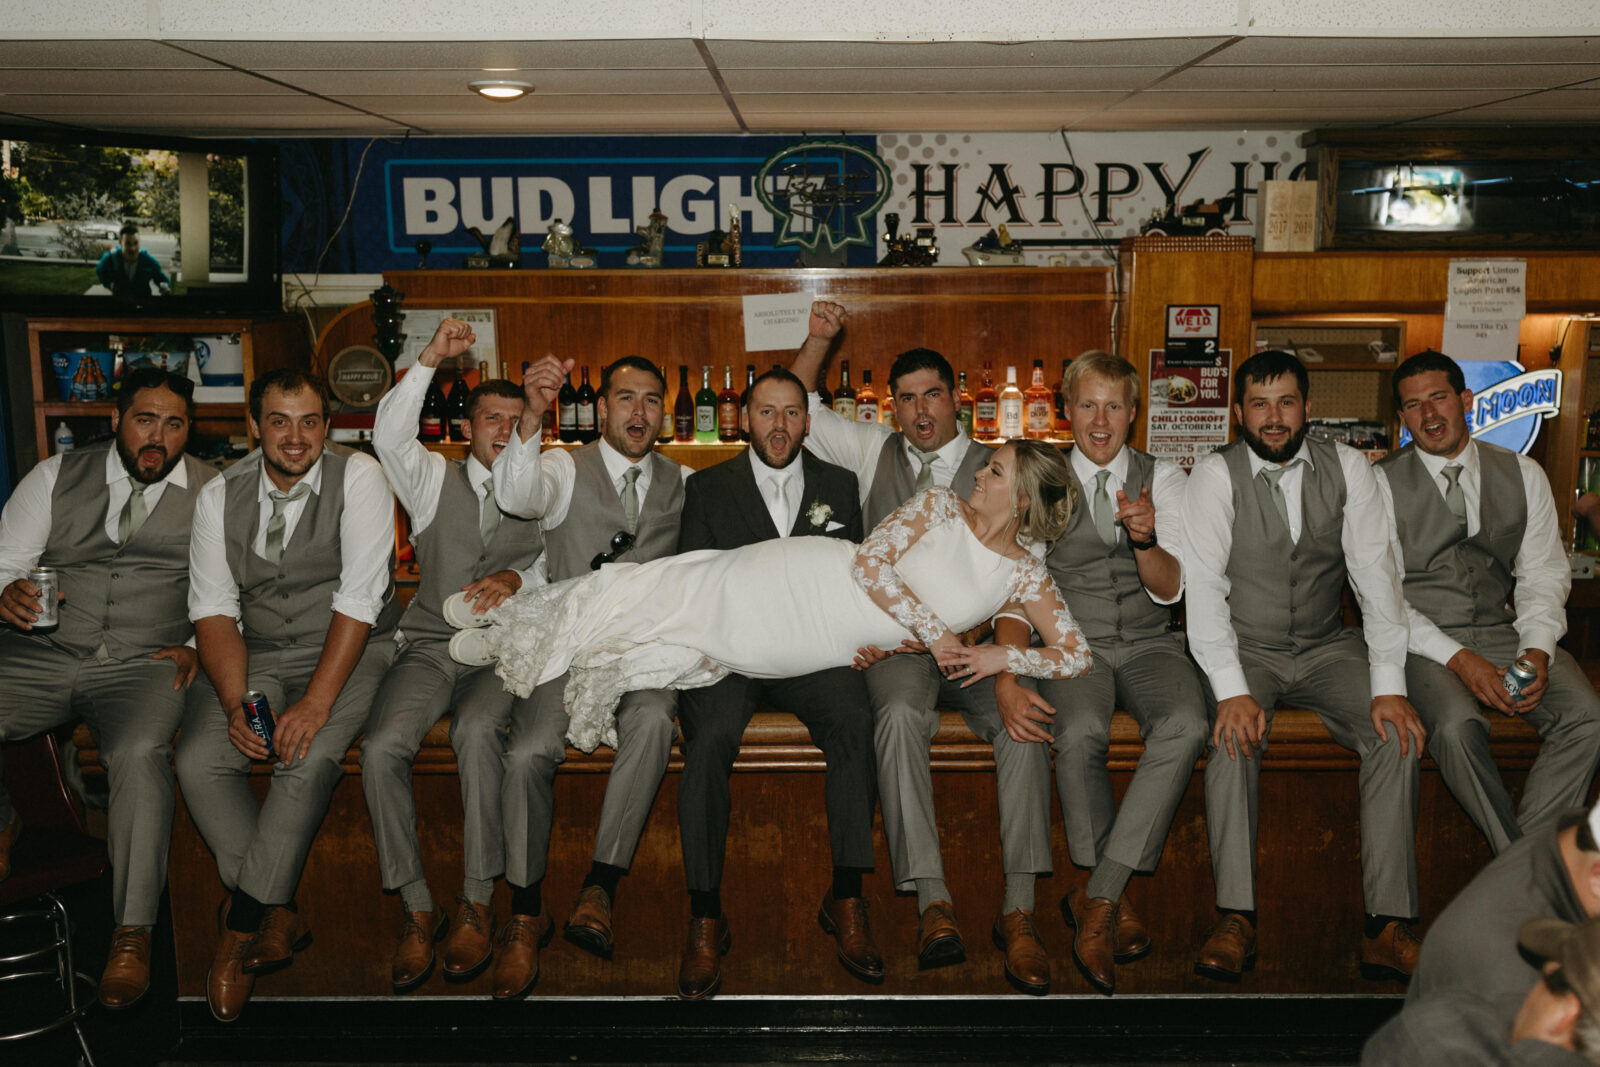

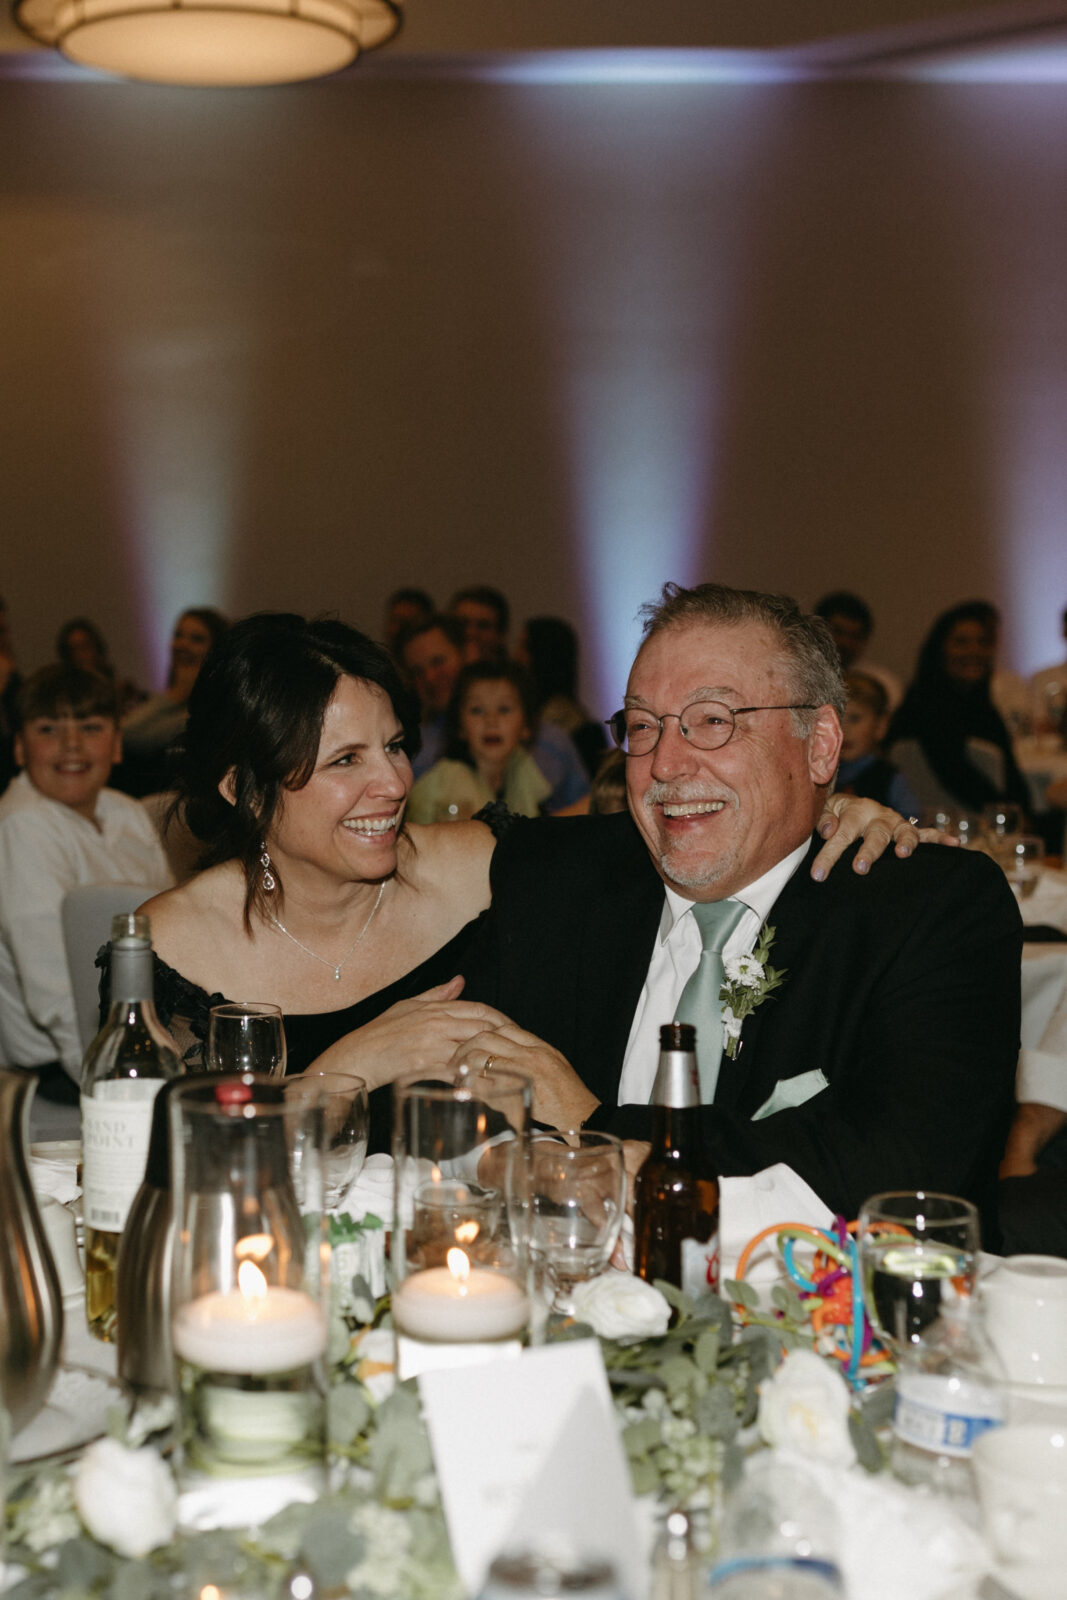
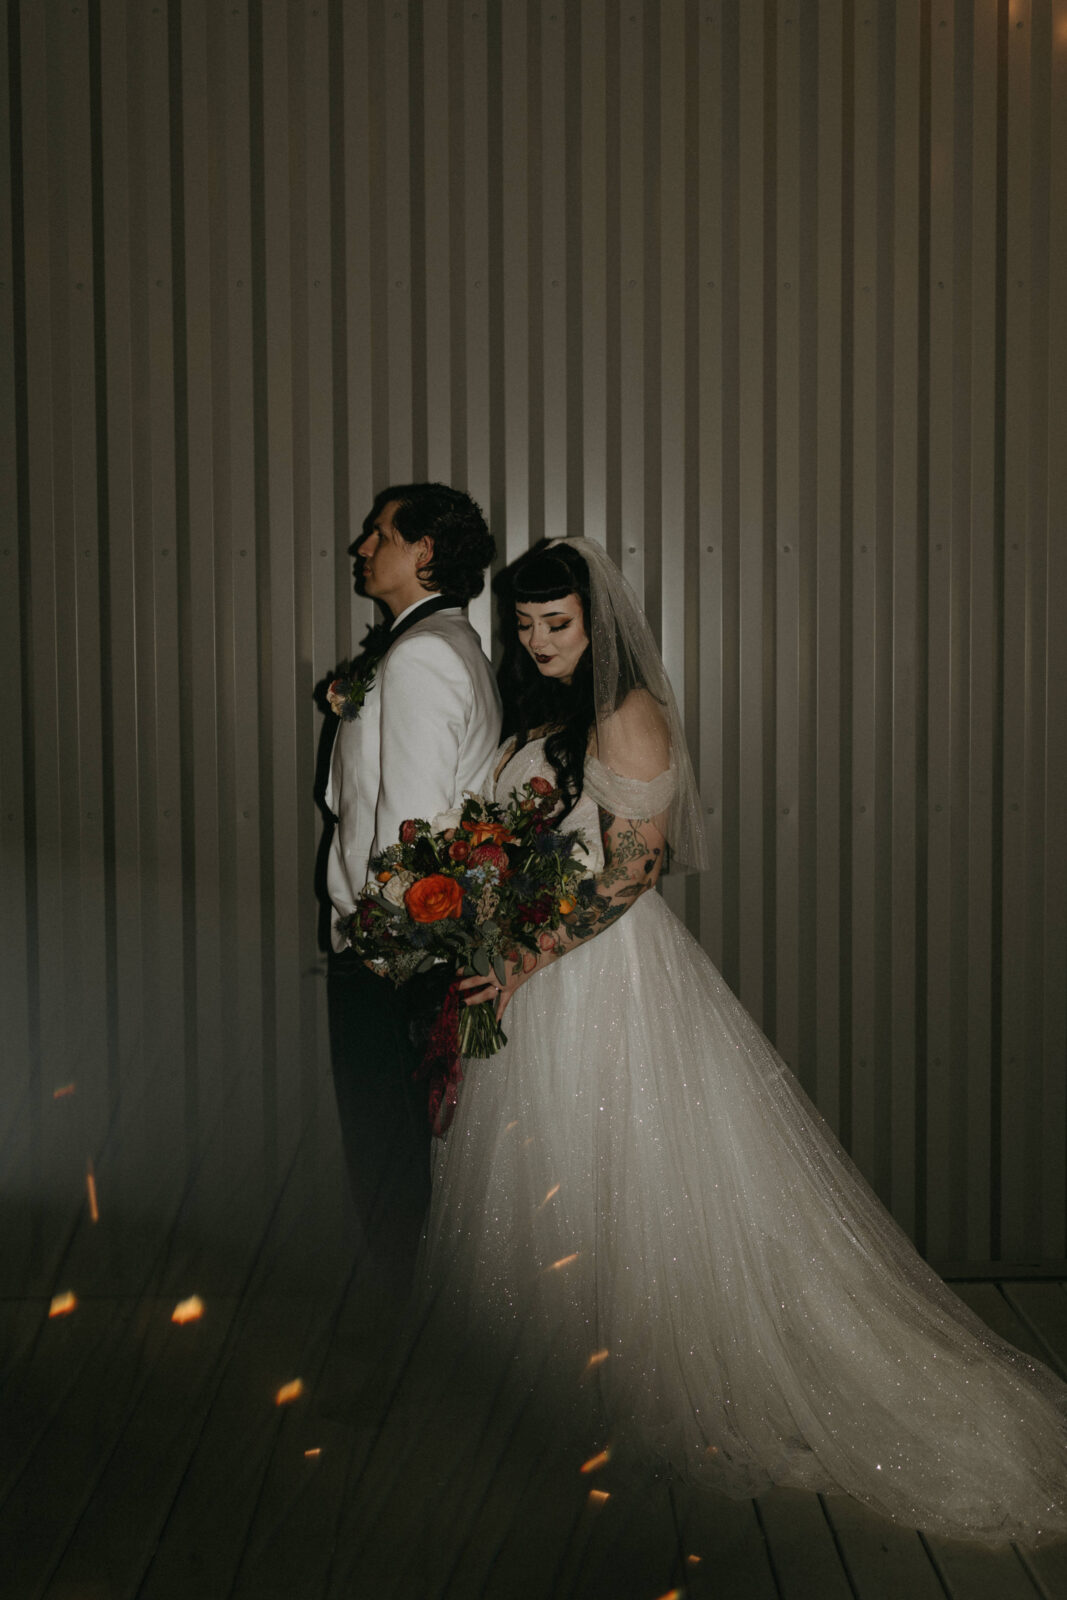
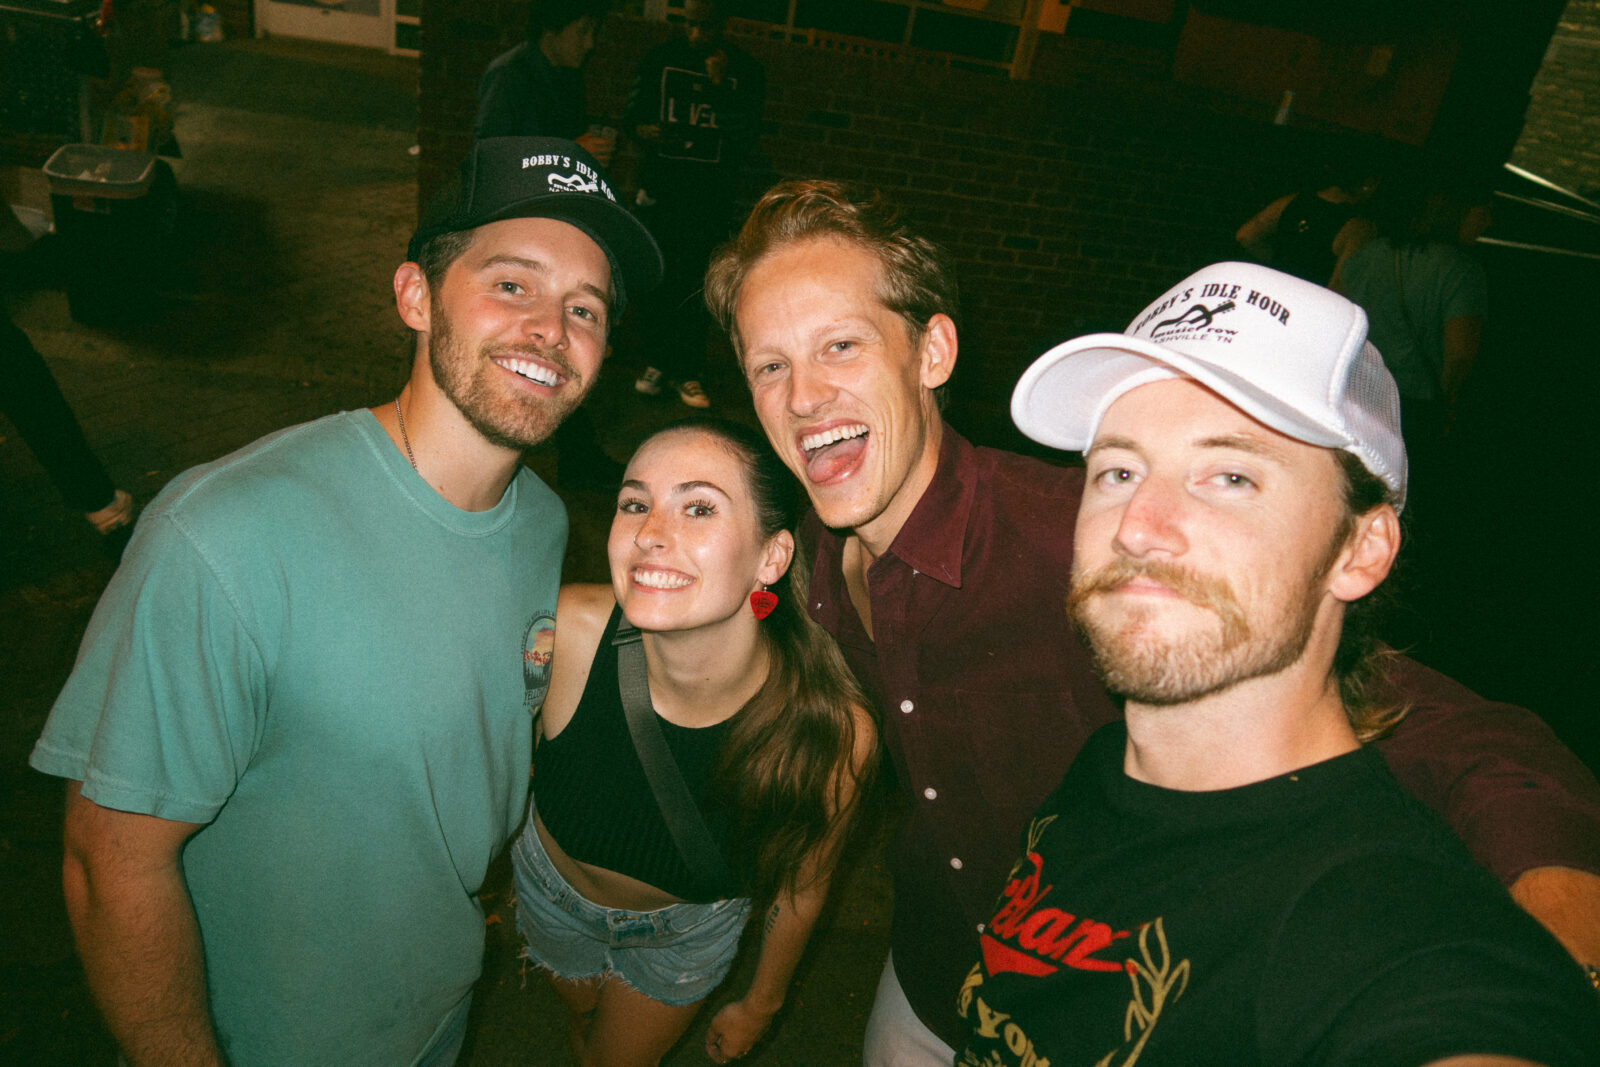
- The 45 degree secret. At every wedding, concert, or indoor event, I use the 45-degree rule. I tilt my flash 45 degrees to the side so that when you switch from vertical to horizontal photographs, you get consistent light both ways. You also don’t have to worry about harsh shadows like when you are pointing your flash directly at someone; it feels more natural. That is my sweet spot when using flash. I also use direct flash towards my subjects because I personally like the harsher flash in particular circumstances.

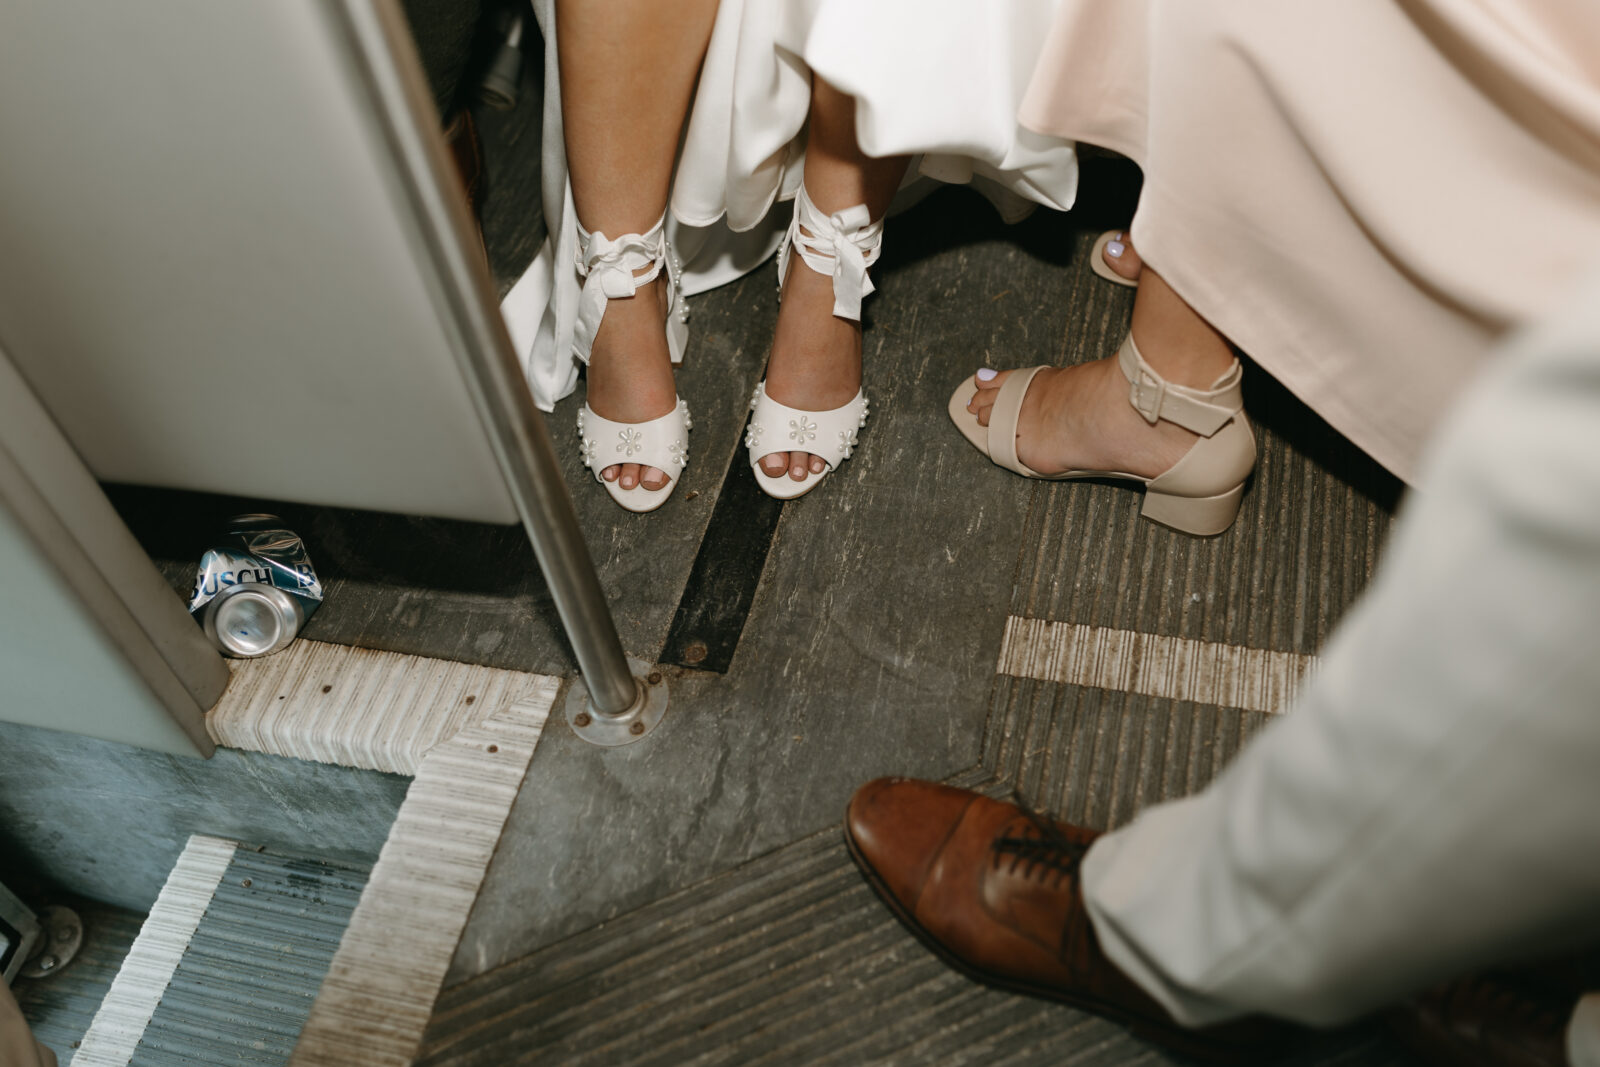

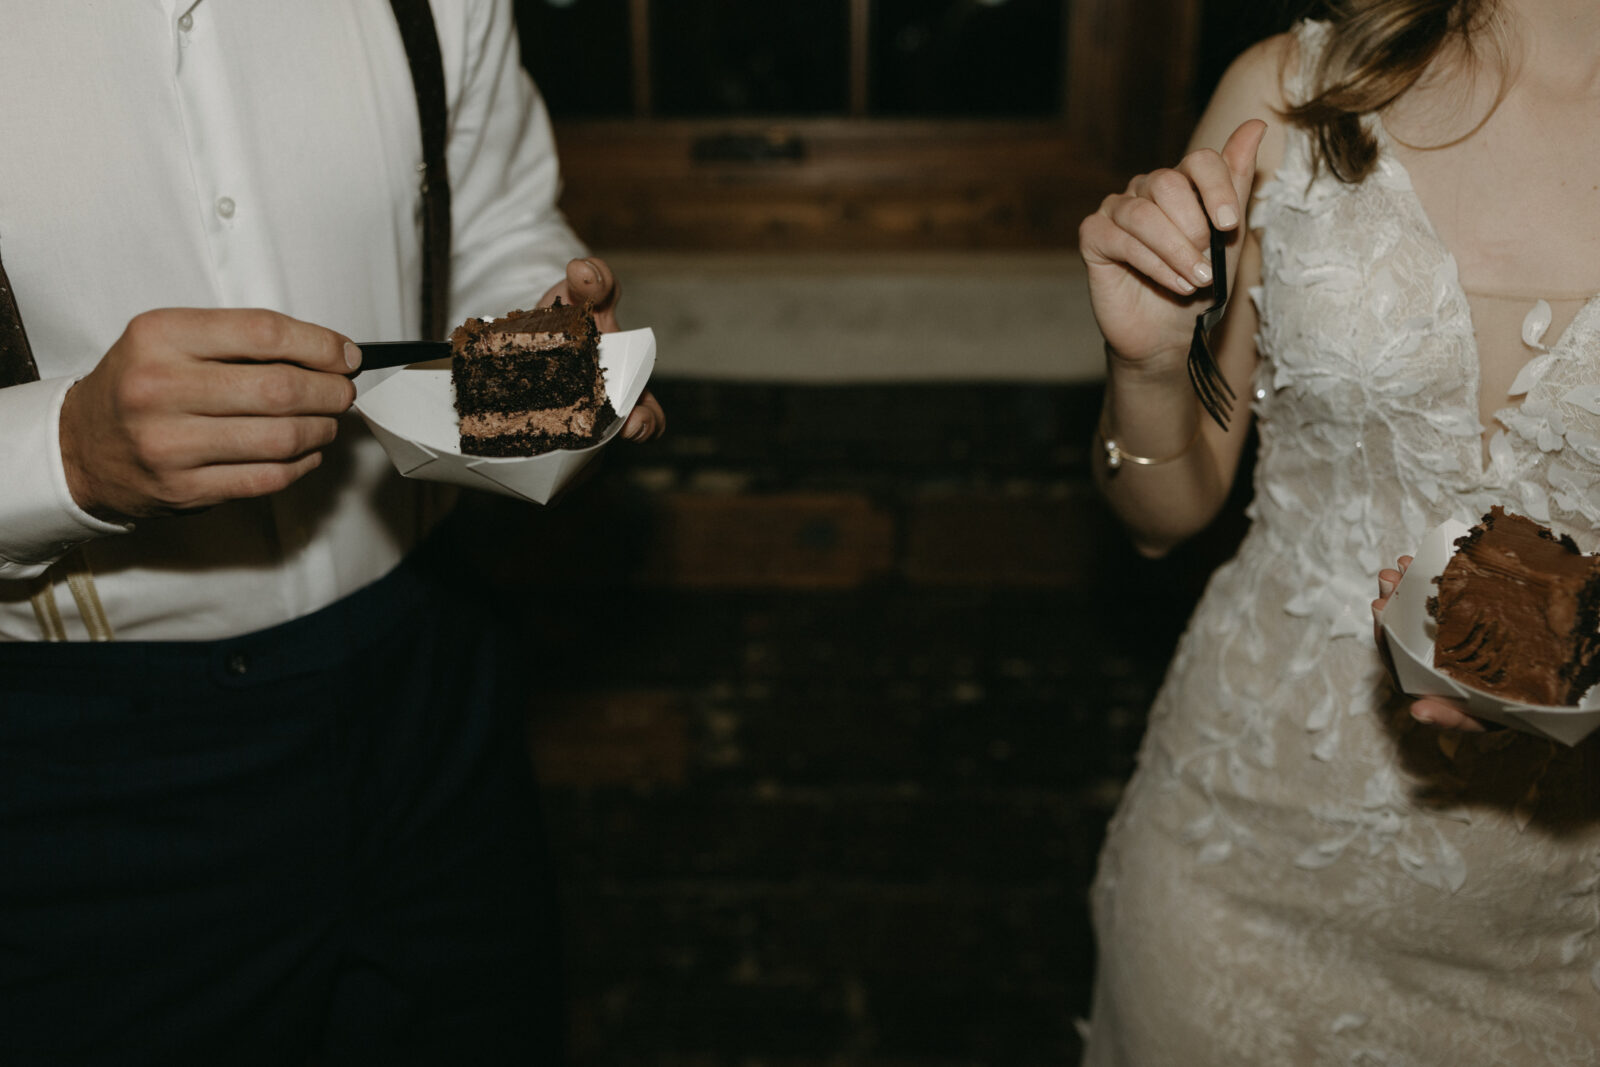
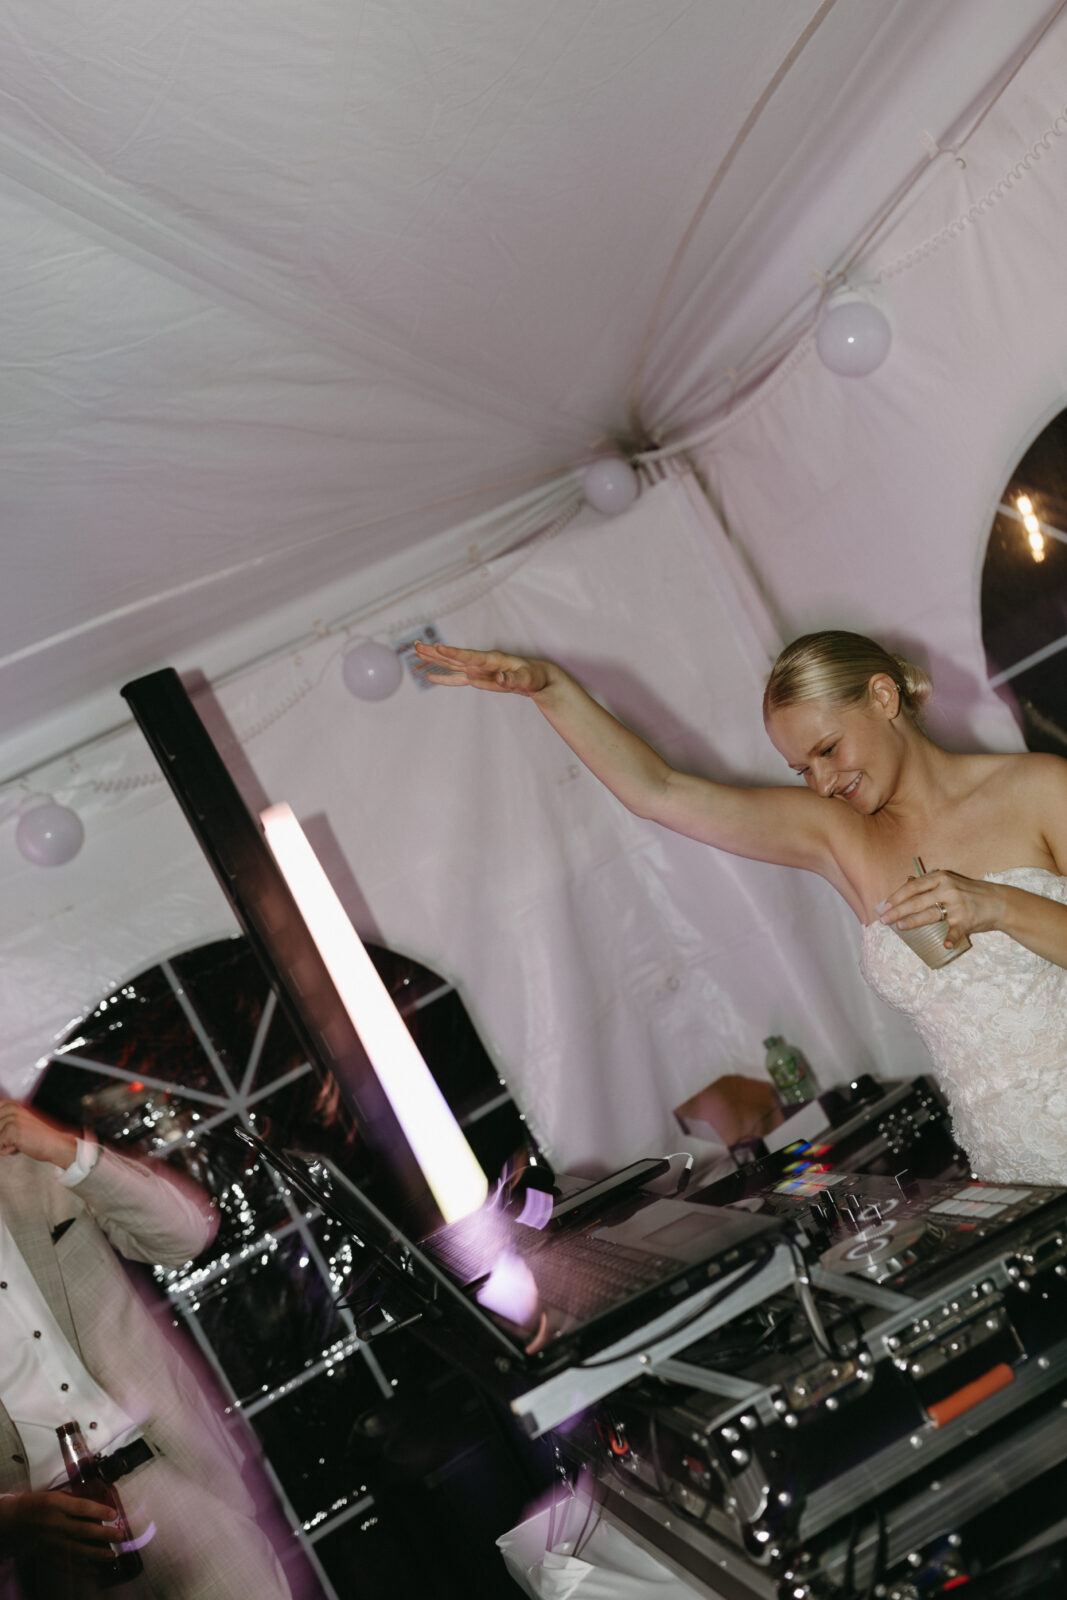
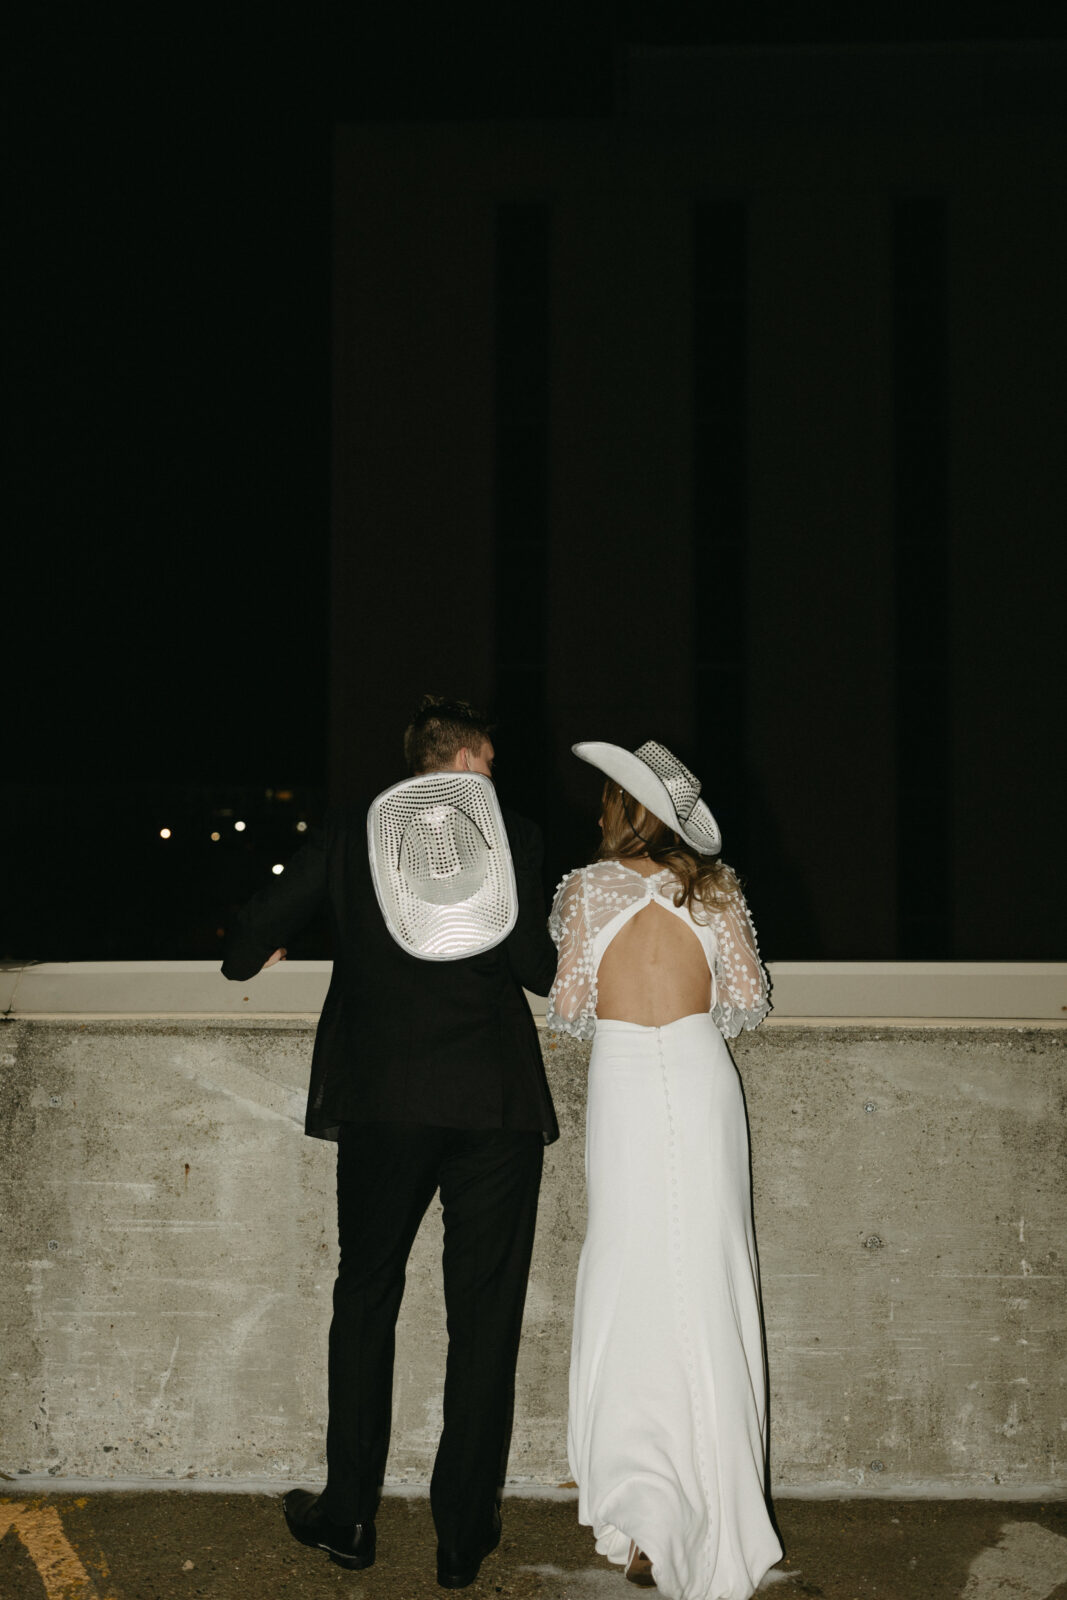

- Produce softer light through the use of a bounce adapter. A bounce adapter is an accessory used to scatter light. (It’s the big cloudy white cap that goes over the head of your flash) When attached to the flash head during bounce photography, it further softens the already soft light so that the light on the subject is more even. It can also soften or eliminate the shadows on the subject.
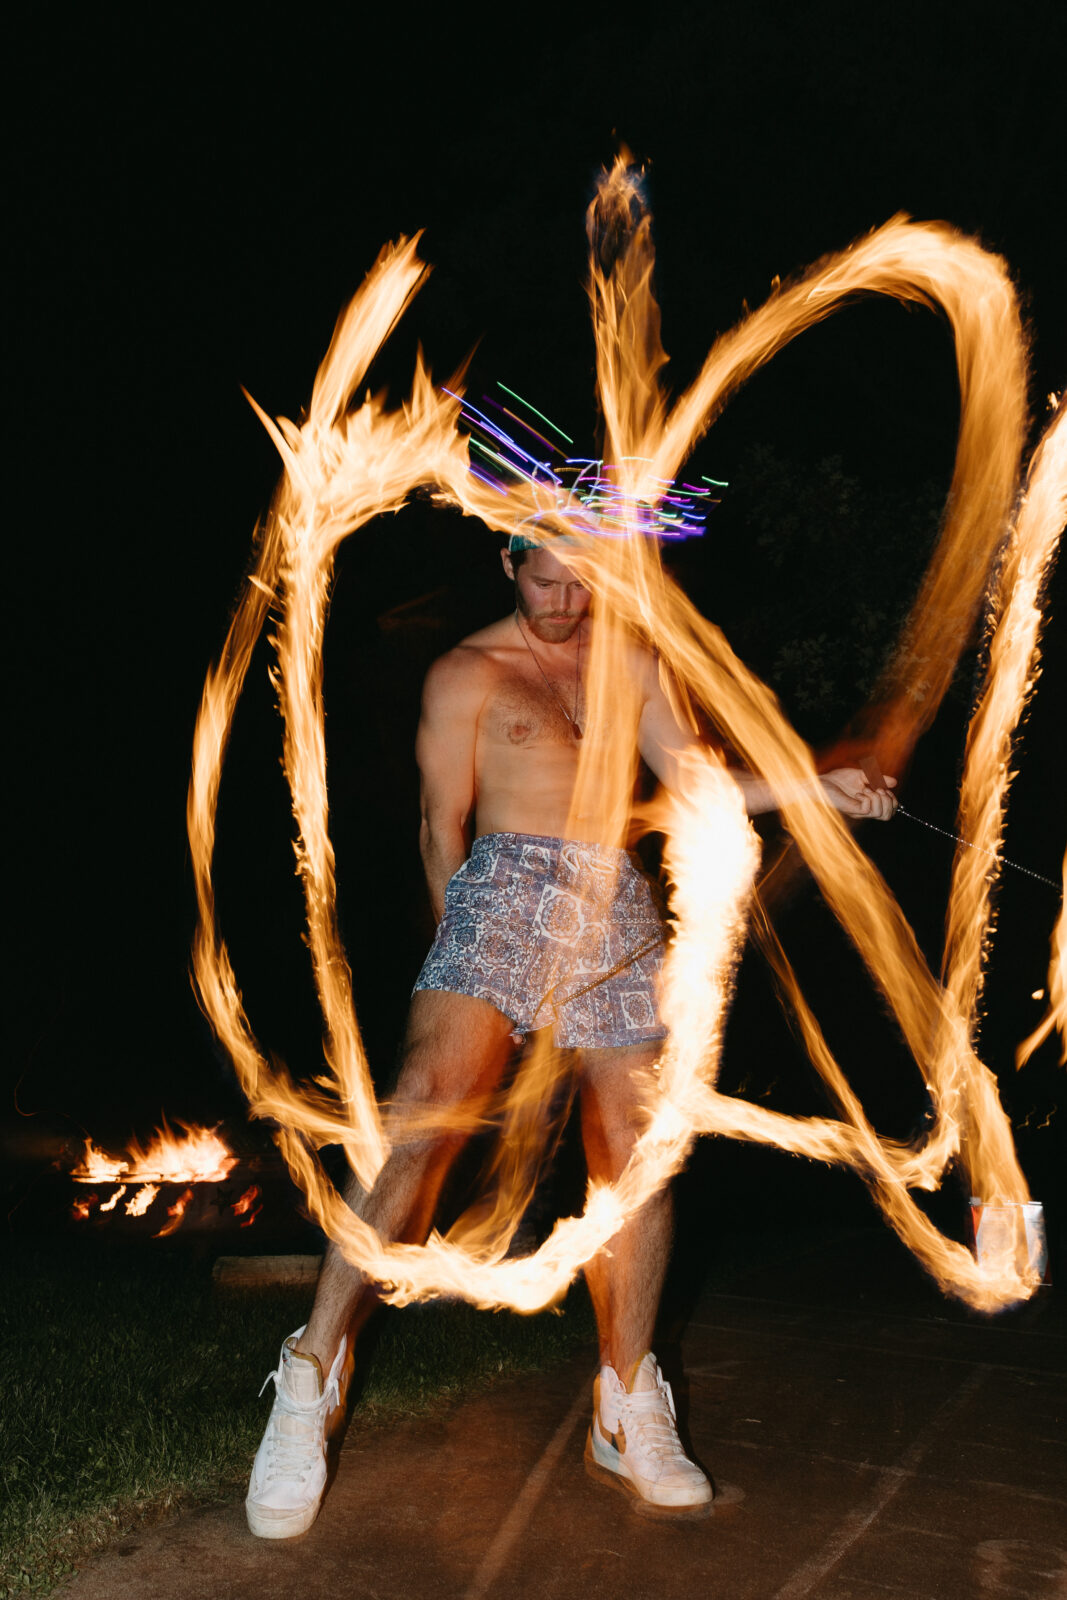
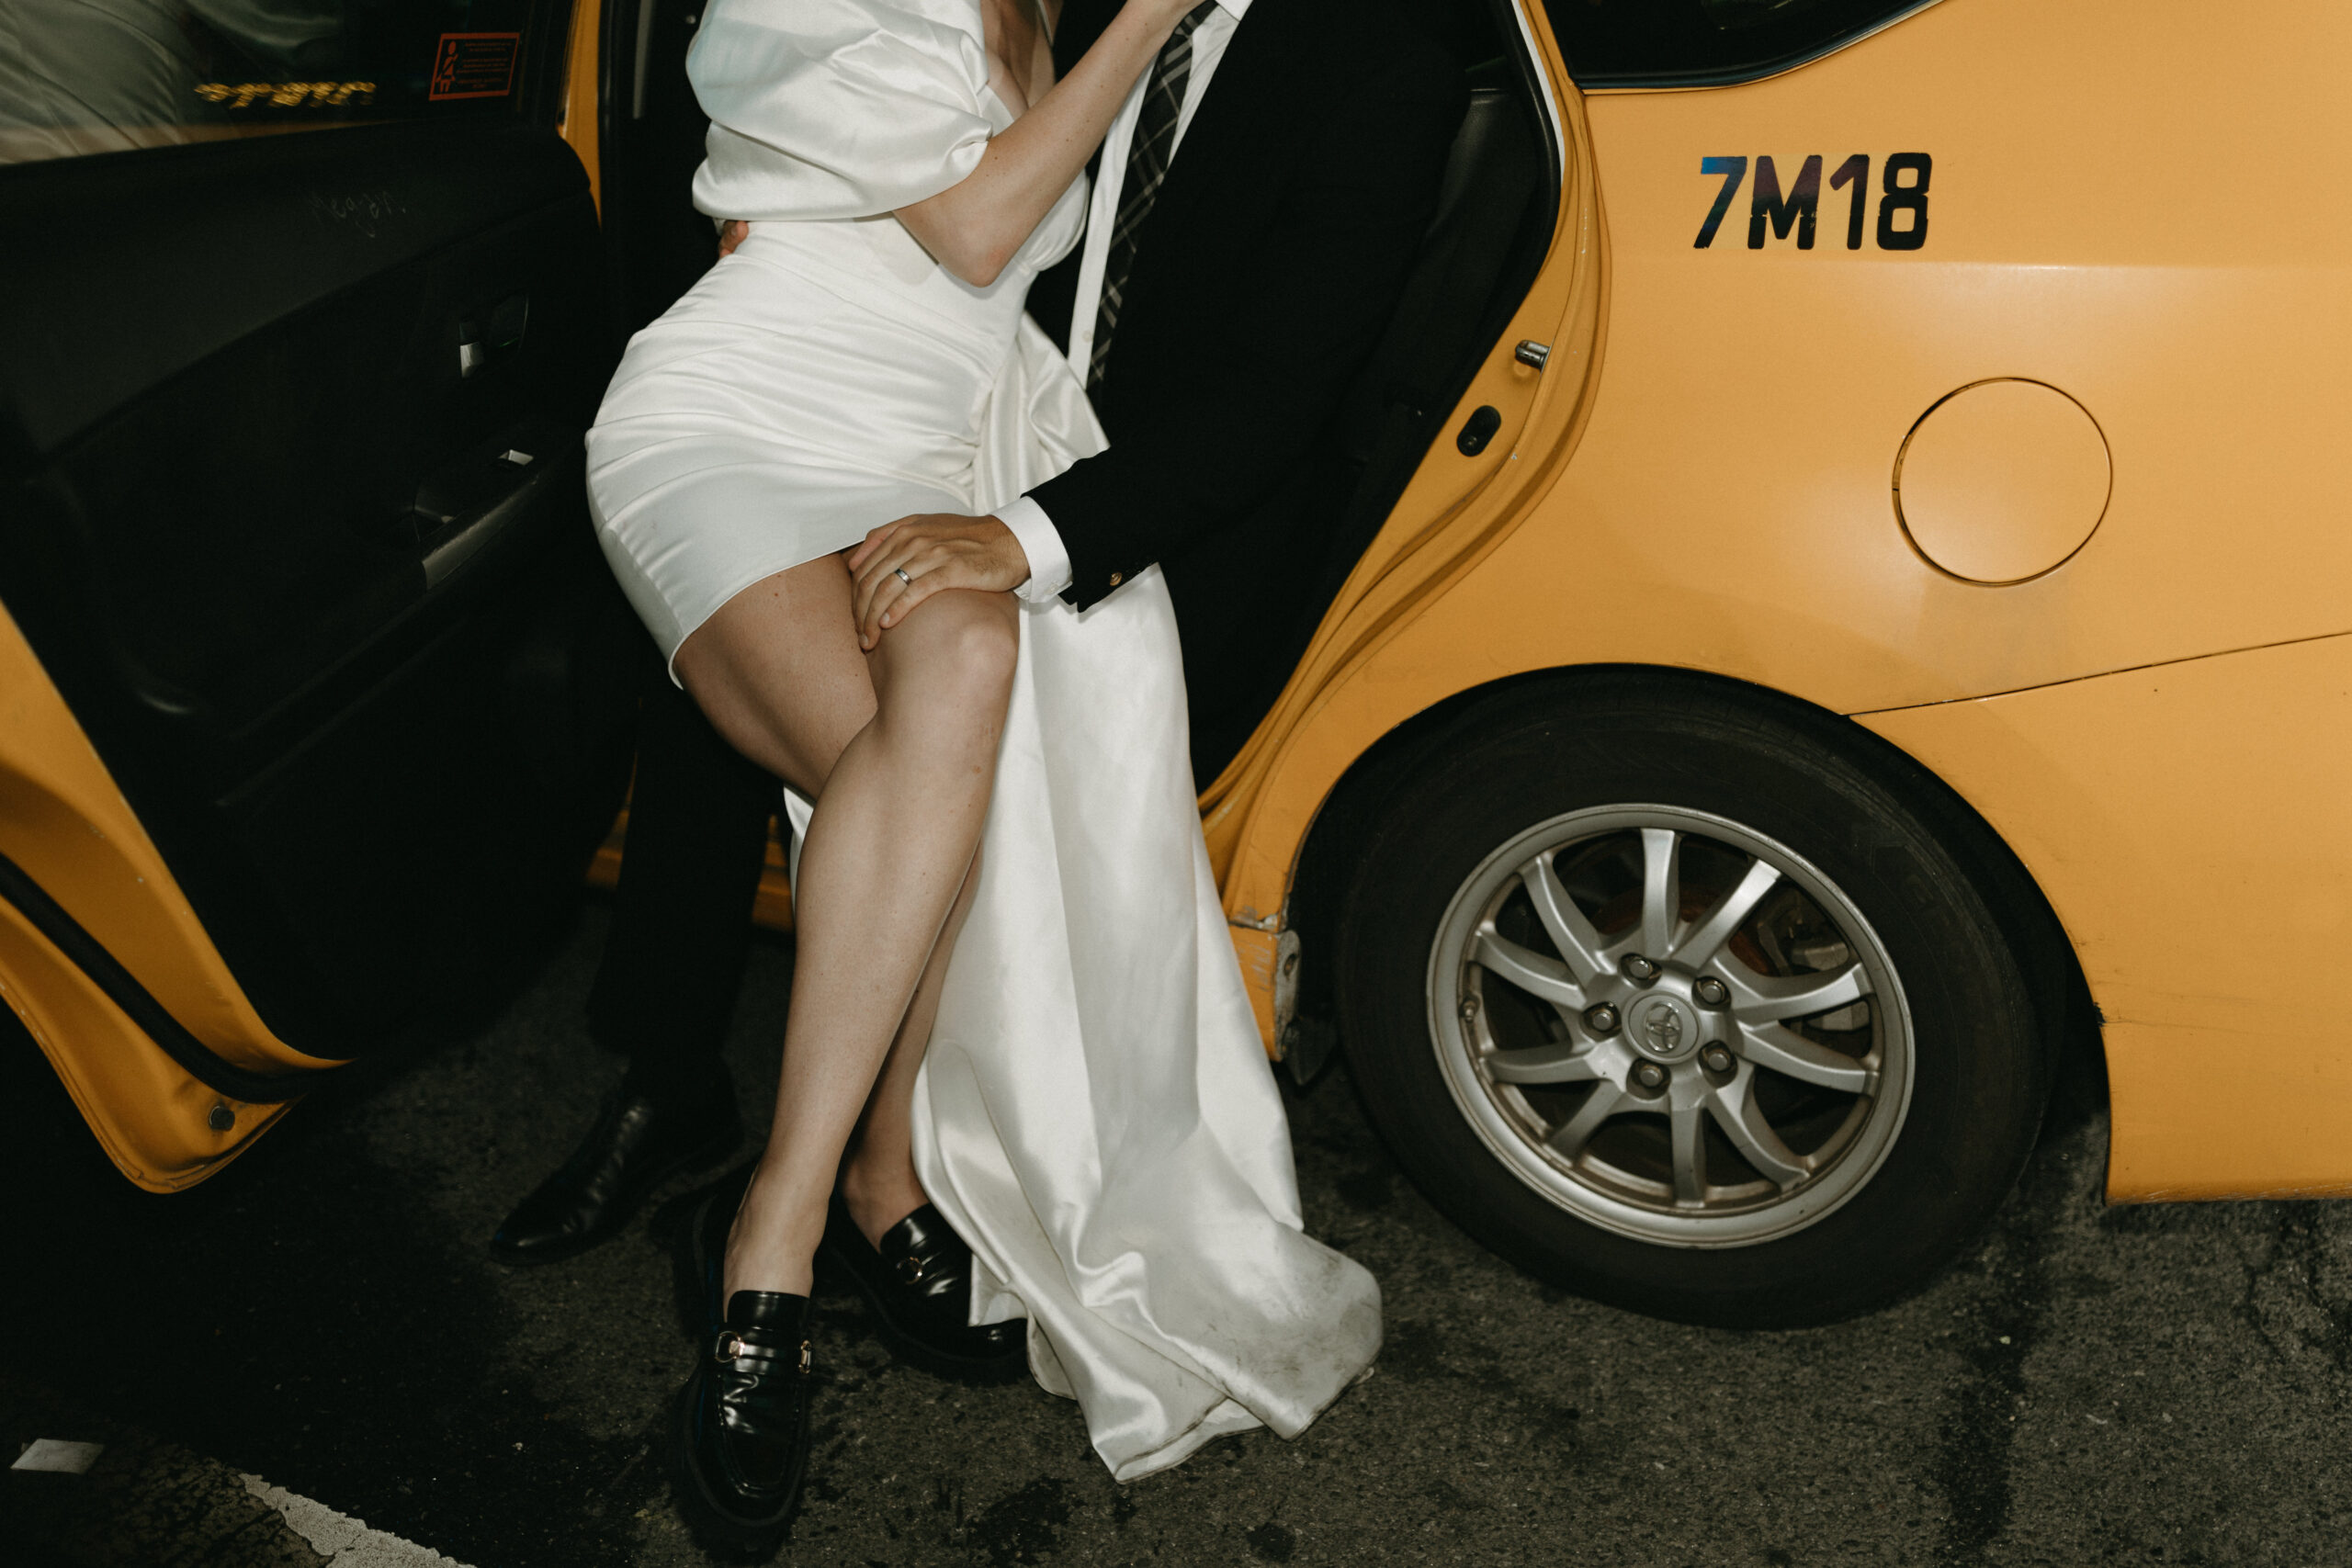
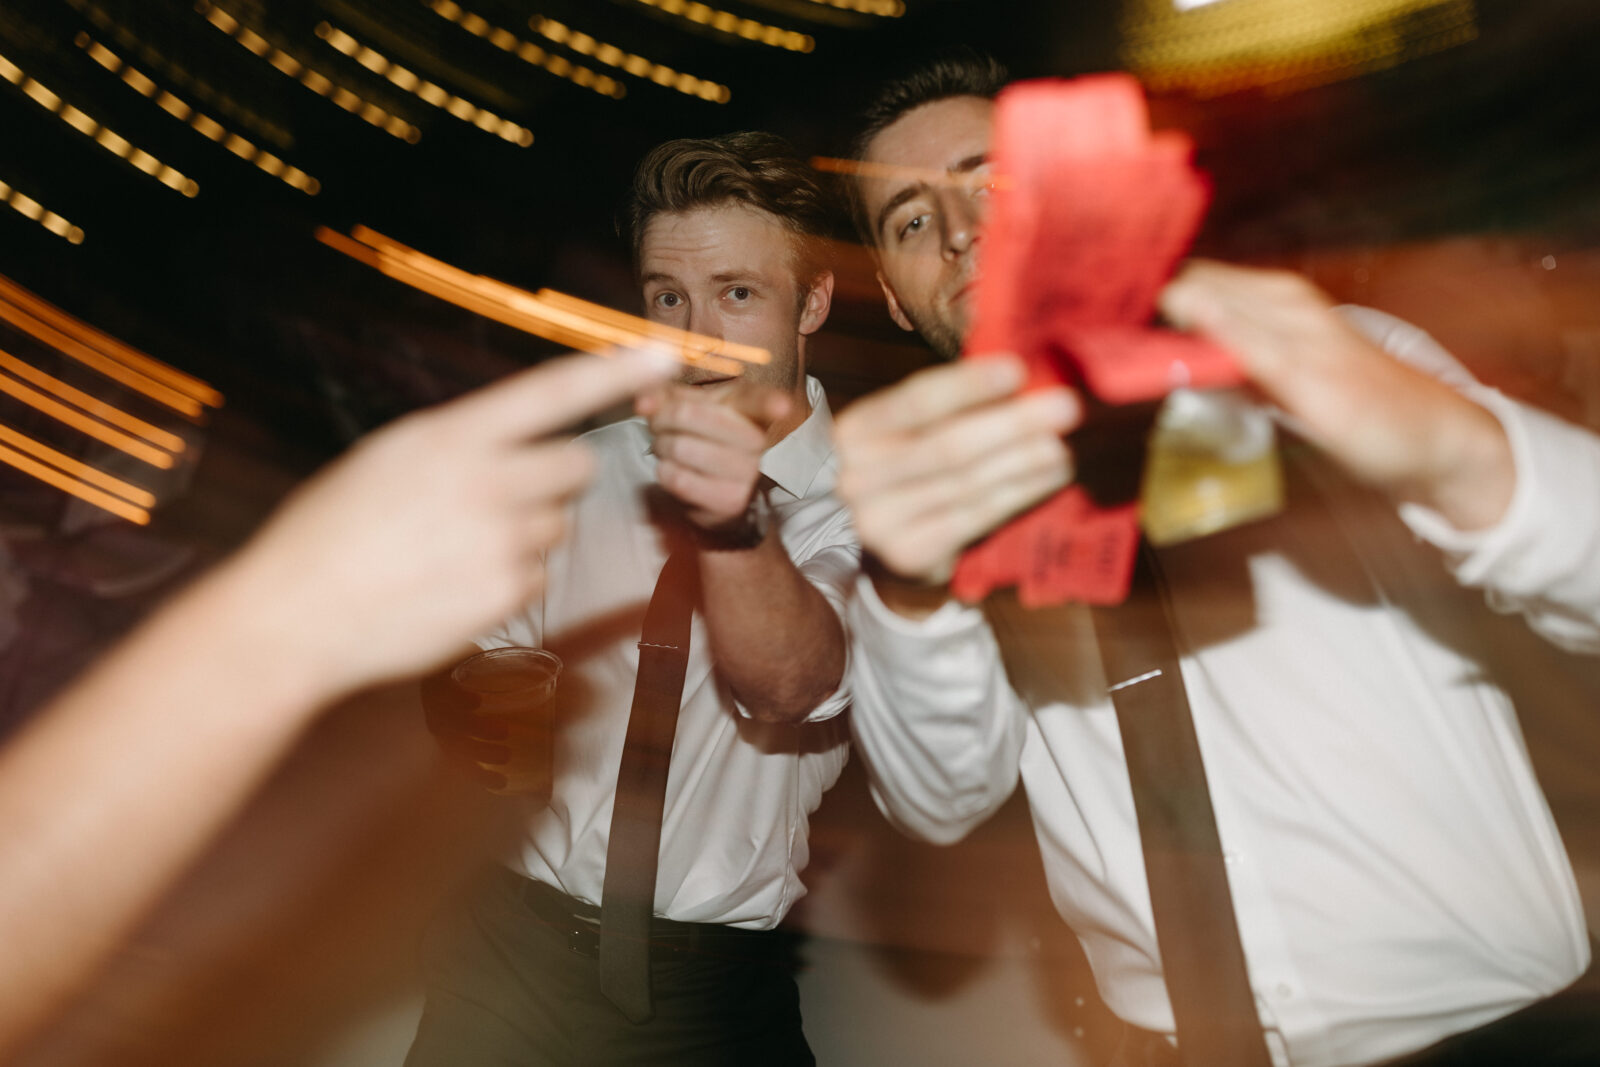
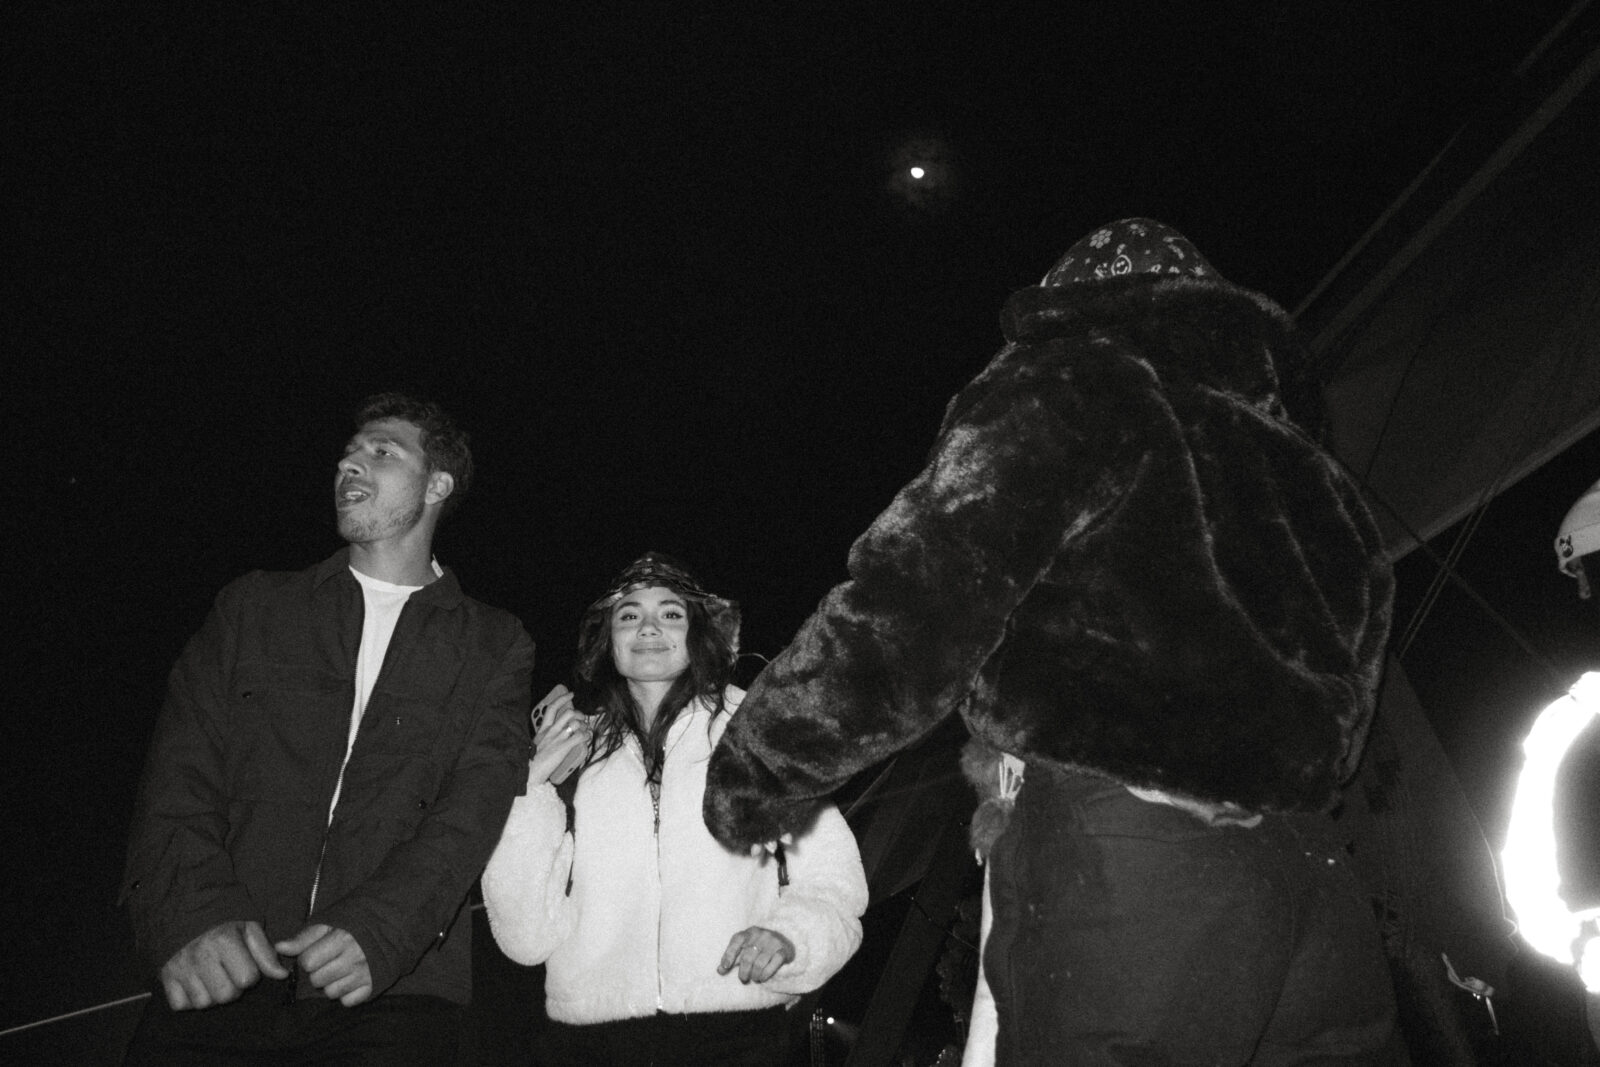
- Shutter drag: my absolute favorite flash trick. Take that bounce adapter right off your camera and shove it in your pocket/ bag. Point your flash directly at your subject. Drop your shutter speed on your camera to anywhere from 1/5 sec – 1/50, ISO 100, F stop 2.0 – 5.0. Change your F stop accordingly depending on how low your shutter speed is… Focus on your subject and move your camera in any direction as you take the image to drag the light in the back of your image. You can get crazy with it and drop your shutter speed even lower (it takes longer to take a photograph), but that allows the light to drag even more, giving you epic light movement. Mess around and embrace the chaotic lights!
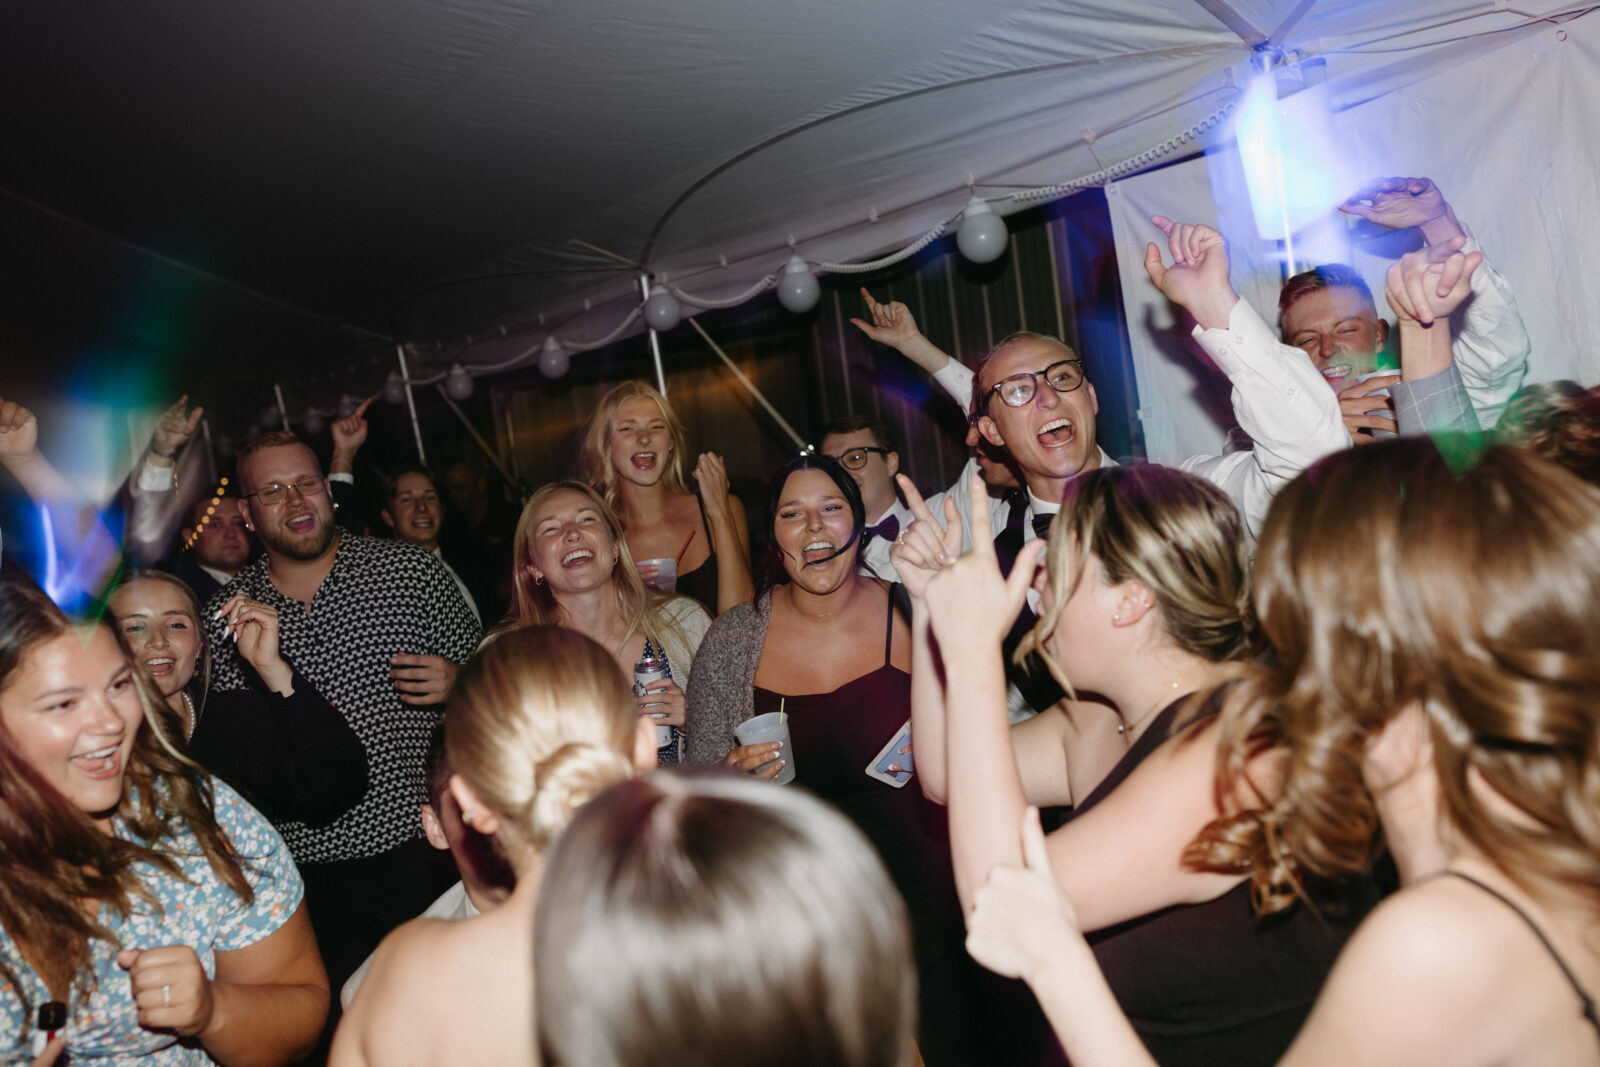
- As a wedding photographer, most weddings I photograph have different DJs that bring different strobe lights. Every strobe light brings a different feel to your image, and you won’t have control over those light settings, which means one second it might be purple and blue strobes, and next it’s green! When you have crazy lights going on, I find it easiest to photograph against the strobe lights instead of photographing people with those strobe lights on their face because sometimes their face lights up the color of that strobe light.





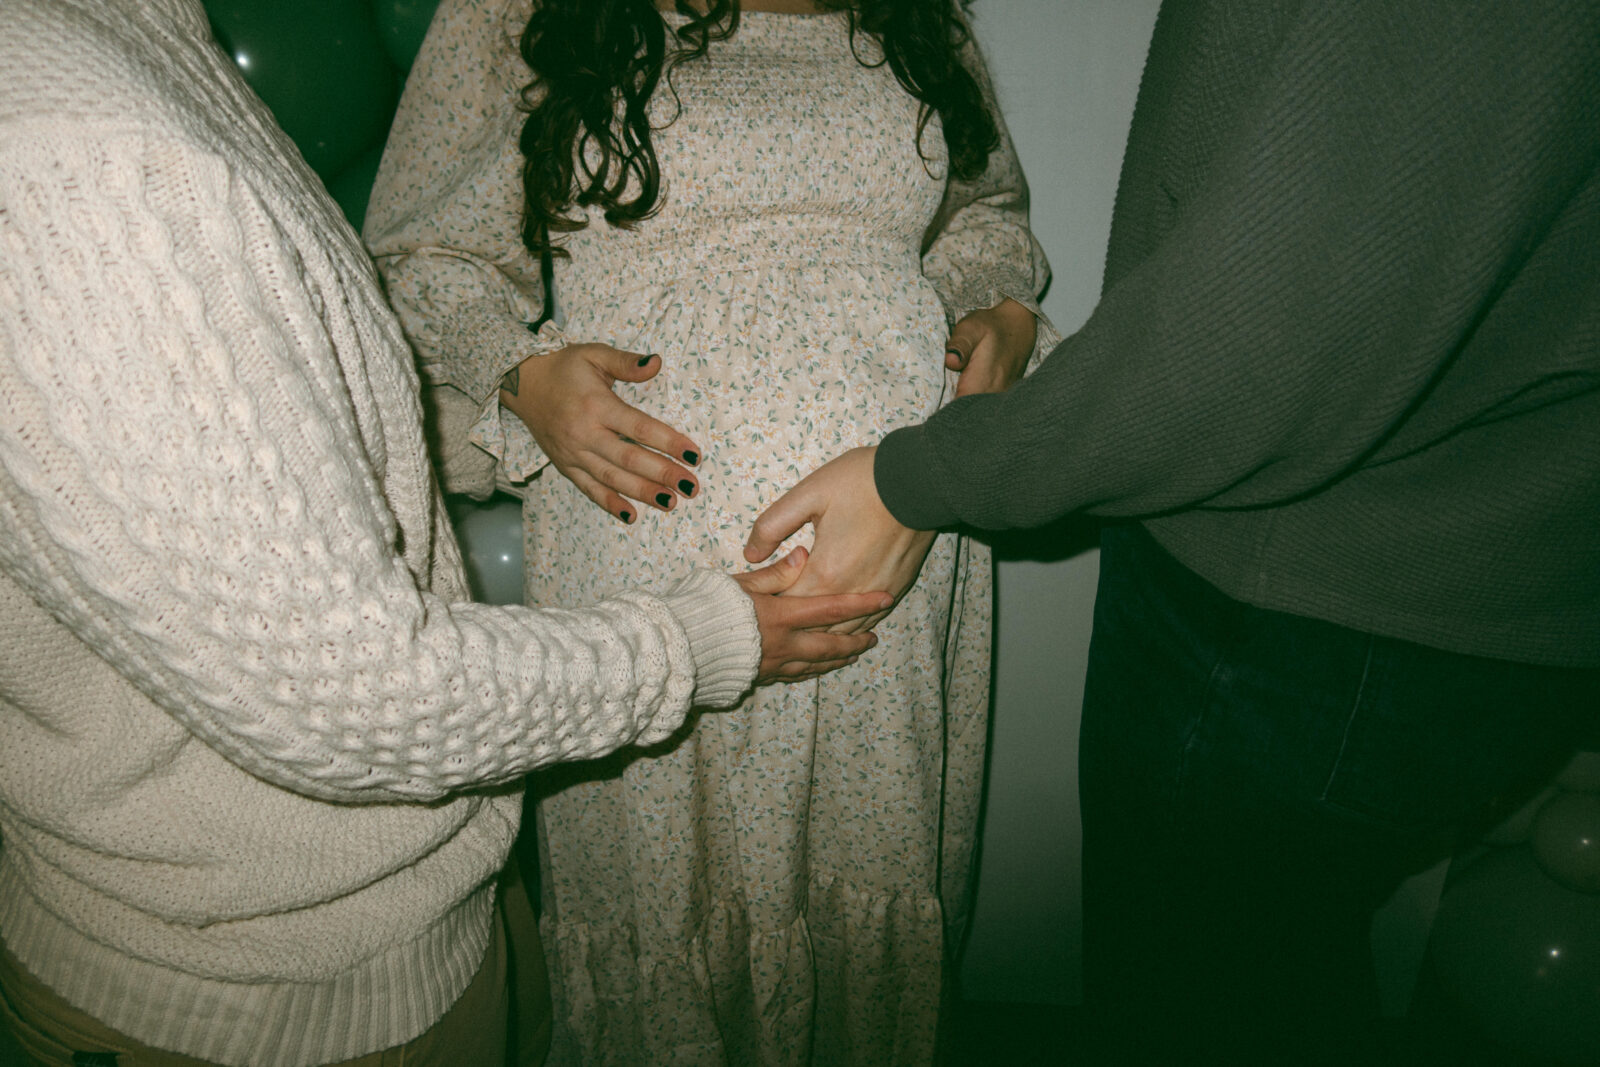
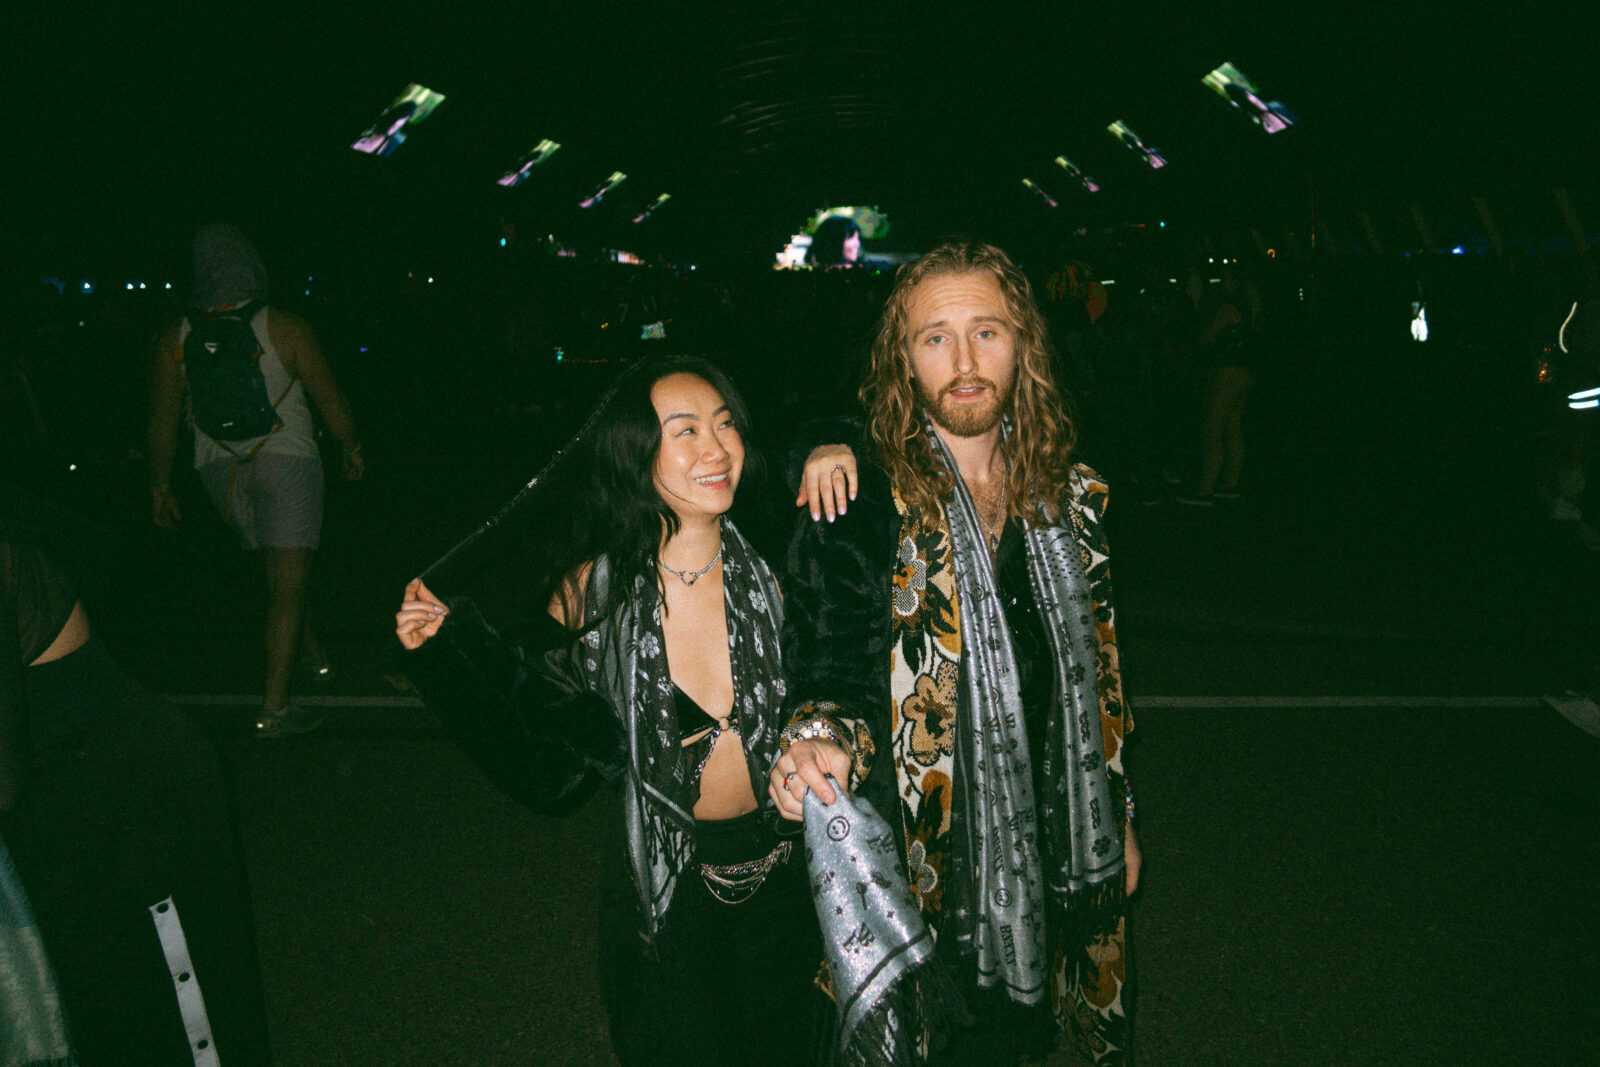
- Practice makes perfect!! I bring my Canon PowerShot G7 X Mark II to friend gatherings, parties, and personal events/ hangouts… this camera is perfect to carry around on a day-to-day basis as it fits in your purse and still has manual settings and a flash.


- Rent a flash, camera body, or lens to get a better feel for what you like before purchasing the real thing. You can find camera equipment rentals + stores in every large city near you. In Minneapolis, Minnesota, I use West Photo.
My Most Used Camera Equipment
Camera Body: Canon EOS R6
Favorite Lens: Canon EF 35mm Lens
Flash: Profoto A10 for Canon
Fun Every Day Camera: Canon PowerShot G7 X Mark II
I buy most of my equipment from B&H Photo Video, Best Buy, or Canon.
